
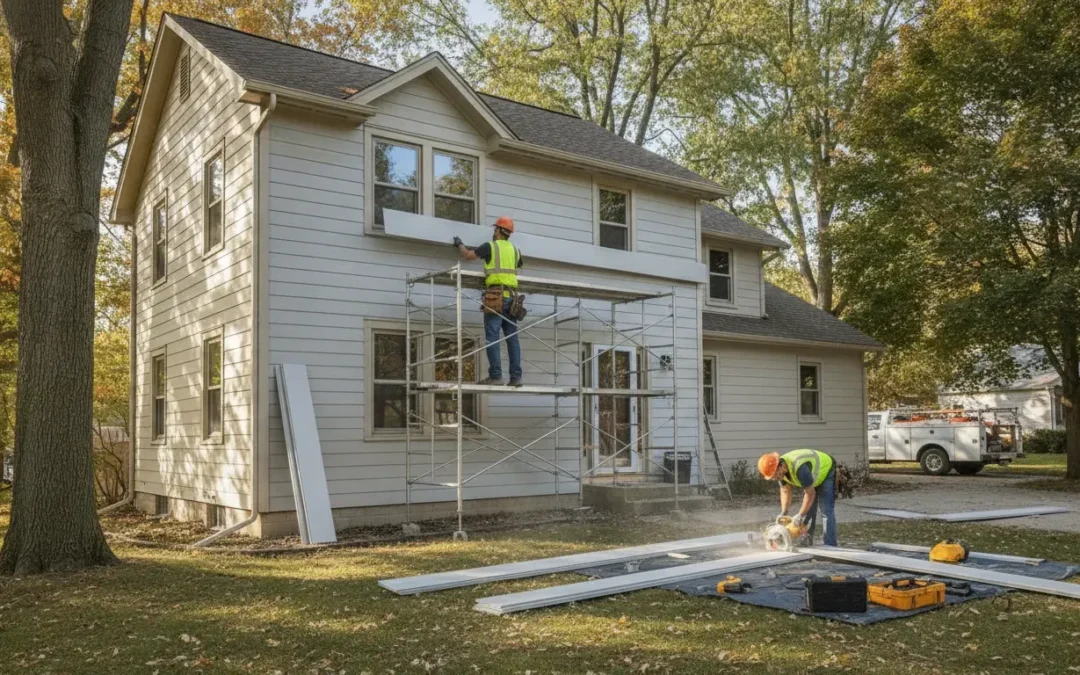
The siding installation process in Michigan is easier to manage when you know what happens in each stage. A professional project usually moves from a home inspection and material selection through wall preparation, siding installation, trim, and a final quality check. This guide explains the sequence, the decisions that matter, and the questions worth asking before work begins.
Ready to plan your siding installation? Schedule a free consultation with Signature Home Pros.
Step 1: What happens during the initial consultation and material selection?
The first step in a Michigan siding project is a site-specific review of the home, existing exterior, and project goals. The contractor should discuss the wall condition, siding profile, color, trim, window and door transitions, access, and the expected work sequence before recommending a system.
A consultation is more than choosing a color from a sample. The installer should look for soft sheathing, moisture entry, damaged trim, uneven walls, previous layers of siding, and details around windows, doors, rooflines, corners, and hose bibs. Those conditions affect preparation and may change the scope of work.
Homeowners may compare lap siding with options such as cedar shake or board and batten. Signature Home Pros offers CertainTeed siding options and helps homeowners select an exterior that fits the home’s appearance, maintenance preferences, and Michigan weather exposure. If you are comparing materials, the Michigan siding materials and savings guide can provide broader buying context, while this article stays focused on the installation workflow.
Before approving the project, ask for a written scope that identifies the siding system, trim, removal assumptions, wall repairs, flashing responsibilities, cleanup, and the person who will answer questions during the work. A clear scope makes it easier to distinguish a necessary preparation step from an unexpected change.
Step 2: How is the home prepared for siding installation?
Preparation protects the home, the crew, and the finished siding. The team typically confirms access, protects landscaping and nearby surfaces, removes or works around exterior fixtures, and identifies details that need to be addressed before new siding covers the wall.
Homeowners should move patio furniture, grills, planters, decorations, and other items away from the work area. The crew may need room for ladders, scaffolding, tools, and material staging. Interior preparation may also be useful if work will occur near windows or if vibration could disturb fragile items.
During this stage, the contractor should discuss exterior items that may need temporary removal or coordination, such as light fixtures, shutters, downspouts, house numbers, vents, and hose bibs. Windows and doors deserve special attention because siding, trim, flashing, and drainage details meet at those openings.
Michigan weather can affect the sequence. Rain, wind, freezing temperatures, and wet sheathing may require a crew to pause rather than close a wall before it is ready. A responsible schedule includes a weather plan and explains how the team will keep exposed areas protected if conditions change.
Ask who is responsible for confirming local permit requirements when they apply. Requirements can vary by municipality and project scope, so the answer should come from the contractor handling the work, not from a generic online checklist.
Step 3: What happens when the old siding is removed?
Removal exposes the wall so the installer can evaluate the surface underneath. The crew removes the existing siding and selected trim carefully, sorts debris, and checks for damage that could compromise the new siding or allow water to enter behind it.
The exact removal plan depends on the existing material and the condition of the wall. Some projects require complete removal. In other cases, a contractor may recommend a different preparation approach after inspecting the substrate. The correct decision should be based on drainage, fastening, wall condition, and the requirements of the new siding system.
Once the old material is off, the installer should look for rotted sheathing, missing or damaged flashing, loose fasteners, insect damage, gaps, and areas where the wall is not flat. Covering a problem does not solve it. Necessary repairs should be explained, documented, and approved before the wall is closed.
Removal is also the point where hidden conditions can change the schedule. That does not mean every project will have a problem. It means the original estimate should clearly distinguish known work from concealed conditions that cannot be confirmed until the siding is removed.
Homeowners can ask to see significant damaged areas before they are repaired. They should also ask how removed materials will be handled and whether daily cleanup is part of the work plan. Keeping the site orderly reduces trip hazards and makes it easier to see project progress.
Step 4: Why do house wrap and insulation board matter?
After the wall is exposed and repaired, the installer builds the water-management and fastening layers required by the siding system. This may include a weather-resistive barrier, flashing at openings, and insulation board when it is part of the specified assembly. The goal is a durable wall system, not just a new outer surface.
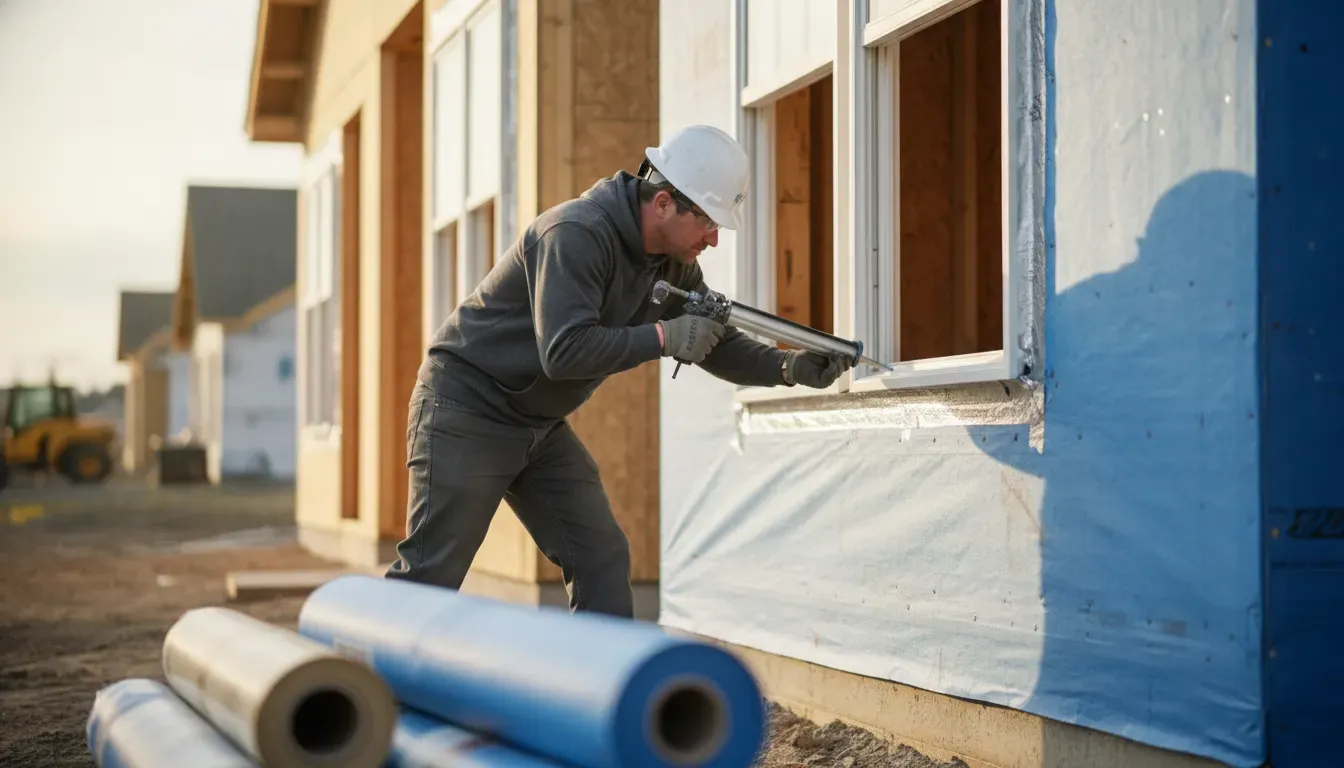
House wrap is designed to help manage bulk water and air movement behind the siding when it is installed as part of a complete wall assembly. It must be integrated with flashing around windows, doors, corners, and other penetrations. Seams, laps, and transitions matter because water follows the path of least resistance.
Insulation board is not automatically identical on every project. The right product and thickness depend on the design, existing wall, siding manufacturer requirements, and project objectives. It can help create a more consistent surface and may contribute to comfort, but it does not replace correct flashing, ventilation, or moisture management.
Installation details should follow the instructions for the selected siding system. A vinyl siding installation manual illustrates why clearances, flashing, fastening, and overlap details must be handled as a system. The contractor should also follow the instructions supplied for the actual product being installed.
Ask how the crew will protect exposed walls if weather interrupts the work. Ask where flashing will be used around openings, how the bottom of the wall will drain, and whether the finished siding will leave the required clearances at roofs, decks, sidewalks, and other surfaces.
For broader context on how siding fits with windows and doors, see the Michigan siding, windows, and exterior planning guide. That pillar content covers selection and project considerations, while this process article focuses on what the crew does in sequence.
Step 5: How are the siding panels and trim installed?
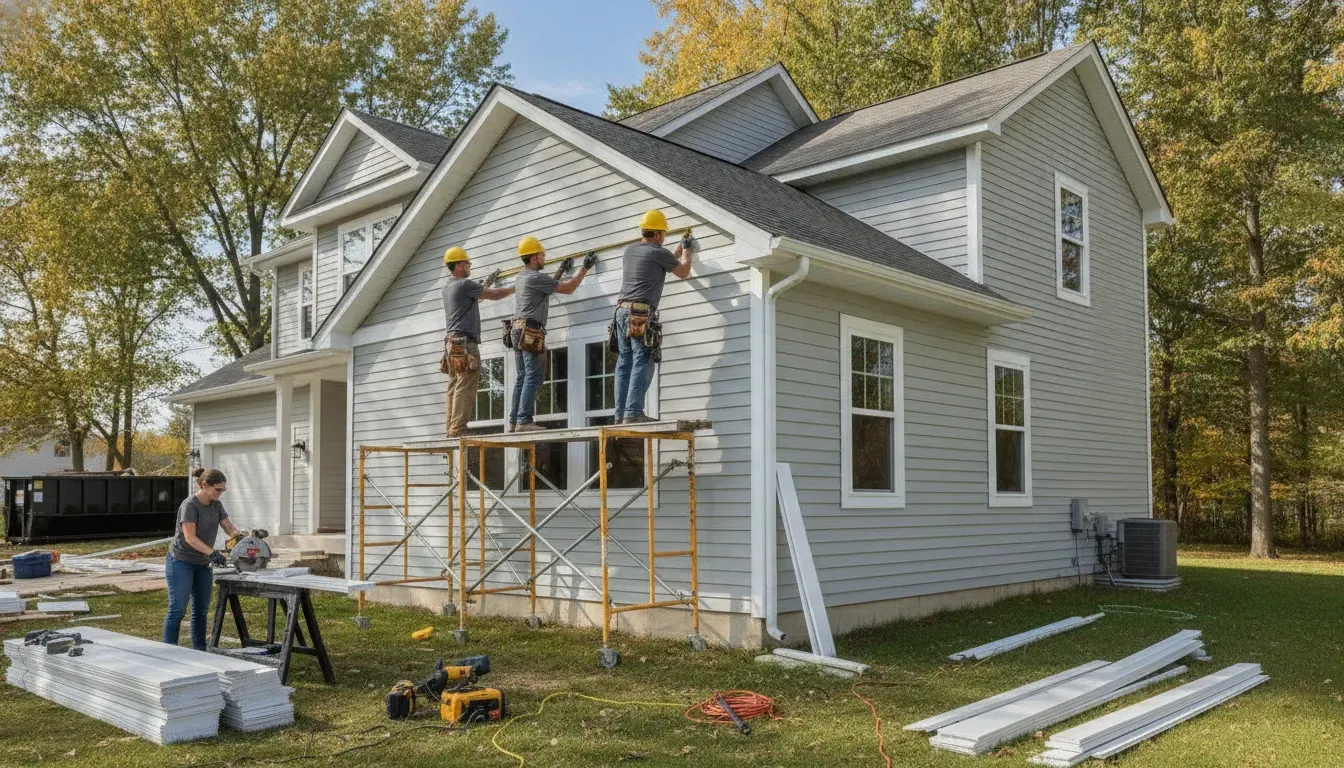
Panel installation begins with layout and level reference lines. The installer places starter components, corner posts, window and door trim, utility trim, and other accessories in the sequence required by the product. Accurate layout is essential because small errors at the first course can become obvious across the entire wall.
As panels are installed, the crew must account for expansion and contraction, maintain the manufacturer’s fastening guidance, and keep courses aligned. Fasteners should secure the siding without pinning it so tightly that the material cannot move as temperatures change. Openings, corners, roof intersections, and transitions receive careful attention because they combine several materials and drainage paths.
Good installation is visible in the details:
- Courses remain level and consistent from one wall to the next.
- Joints and overlaps are placed according to the product instructions.
- Panels are cut cleanly around openings and penetrations.
- Trim sits straight without forcing panels out of alignment.
- Clearances are maintained near roofs, decks, steps, and ground surfaces.
- Vents, lights, hose bibs, and downspouts can be reinstalled without crushing the siding.
The work area may look unfinished while panels, trim, and accessories are being installed in stages. Homeowners do not need to judge the final appearance from a single partially completed wall. Instead, ask the project lead to point out the layout lines, transitions, and quality checks that will be completed before the crew leaves.
If you are coordinating siding with replacement windows or doors, confirm which trade completes each transition. Signature Home Pros also provides window and door replacement services, which can simplify communication when several exterior elements meet on one project.
Step 6: What should trim, caulking, and the final inspection include?
The final stage brings the siding system together. The crew completes trim, approved sealant work, vents, fixtures, and transitions, then inspects the walls for alignment, damage, gaps, and cleanup. A final walkthrough gives the homeowner a chance to ask questions while the installation details are still easy to review.
Caulking should be used where the product instructions and building details call for it, not as a substitute for flashing or proper clearances. The installer should use compatible materials and leave drainage paths open. Around windows, doors, corners, and utility penetrations, the finished work should look intentional and shed water rather than trap it.
A useful final inspection checks the following:
| Area | What to review | Question to ask |
|---|---|---|
| Walls | Level courses, straight lines, consistent overlaps | Are any panels loose, bowed, or visibly out of alignment? |
| Openings | Window and door trim, flashing transitions, clearances | How is water directed away from each opening? |
| Corners and rooflines | Corner posts, gable edges, roof and wall transitions | Were the required product clearances maintained? |
| Fixtures | Lights, vents, shutters, downspouts, hose bibs | Were attachments reinstalled without damaging panels? |
| Site | Scrap, fasteners, landscaping, walkways, and access areas | Has the work area been cleaned and made safe? |
Before the crew closes the project, ask for care instructions, product documentation, and the process for reporting a concern. Take a few photos of completed transitions for your records. If the home will be painted, landscaped, or have gutters changed later, ask whether those future plans affect current clearances or sequencing.
How long does siding installation take in Michigan?
There is no single timeline for every Michigan siding project. Home size, wall height, material selection, removal requirements, concealed damage, window and door details, crew size, weather, and inspection requirements all affect the schedule. A dependable contractor should give you a project sequence and update it when site conditions change.
Ask for the expected start window, the stages that depend on dry weather, the plan for protecting exposed walls, and the point at which the final walkthrough will occur. It is more useful to understand the sequence and decision points than to rely on a generic number of days that may not fit your home.
Material availability can also affect scheduling. Select colors and profiles early, confirm what is included in the scope, and ask when the final product order will be checked. These steps reduce avoidable delays once preparation begins.
How can a homeowner prepare for the project?
Homeowners can make the siding installation process smoother by clearing access, confirming fixture responsibilities, keeping pets away from the work area, and deciding how they want project updates delivered. Before work begins, walk the exterior with the project lead and note fragile landscaping, gates, outdoor outlets, security devices, and areas where crews will need access.
- Move outdoor furniture, decorations, grills, and planters away from the walls.
- Trim or identify landscaping that needs special protection.
- Keep children and pets away from ladders, scaffolding, tools, and material stacks.
- Confirm where materials and debris will be placed.
- Ask how daily cleanup and weather delays will be communicated.
- Save the written scope and product information in one place.
- Plan a final walkthrough before the last payment or closeout step.
Signature Home Pros serves homeowners across central Michigan with a no-pressure approach to exterior renovation. If you are considering new siding in Flushing, Flint, Grand Blanc, Fenton, Saginaw, Davison, Burton, or nearby communities, the team can review your home’s condition and explain the next steps through its siding installation service.
Get a clear siding installation plan for your Michigan home by contacting Signature Home Pros.
Frequently Asked Questions
Should old siding always be removed before new siding is installed?
Not always. The correct approach depends on the existing siding, wall condition, drainage, fastening requirements, and the new product instructions. The contractor should inspect the wall and explain whether full removal, selective removal, or another preparation method is appropriate.
Does siding installation include repairs behind the old siding?
A written scope should explain what preparation and repairs are included. Concealed damage such as soft sheathing or missing flashing may not be visible until removal. Ask the contractor to document unexpected conditions and obtain approval before adding work.
What is the difference between house wrap and siding?
Siding is the exterior cladding that provides the visible finish and helps protect the wall. House wrap is part of the behind-the-siding water and air management layer. They perform different functions and must be integrated with flashing and the rest of the wall assembly.
Can siding be installed during Michigan winter?
Seasonal conditions can affect scheduling and installation methods. Cold, wind, snow, ice, and wet sheathing may require delays or additional protection. Ask the contractor how the selected product, weather conditions, and exposed-wall protection will be handled for your project.
What should I inspect before the siding crew leaves?
Review level courses, corners, trim around windows and doors, roof and deck clearances, fixture reinstallation, sealant details, damage, cleanup, and documentation. Ask who to contact if a concern appears after the final walkthrough.
Recent Comments